For this week's project I wanted to make something that I knew I would use over and over again (especially since some of my previous projects were kind of useless in the end- aka my 5 wooden rings that only fit on my pinky and that I will probably never wear). I knew that I needed more seating in my dorm since my friends come over and we all end up having to squish onto the very few chairs in my common room. I also like the industrial/modern aesthetic so I thought that concrete was the natural material choice, and the wooden dowels would make very nice legs. This would also satisfy the assignment's requirement of using 2 materials with a rough 50/50 split between the usage of both.
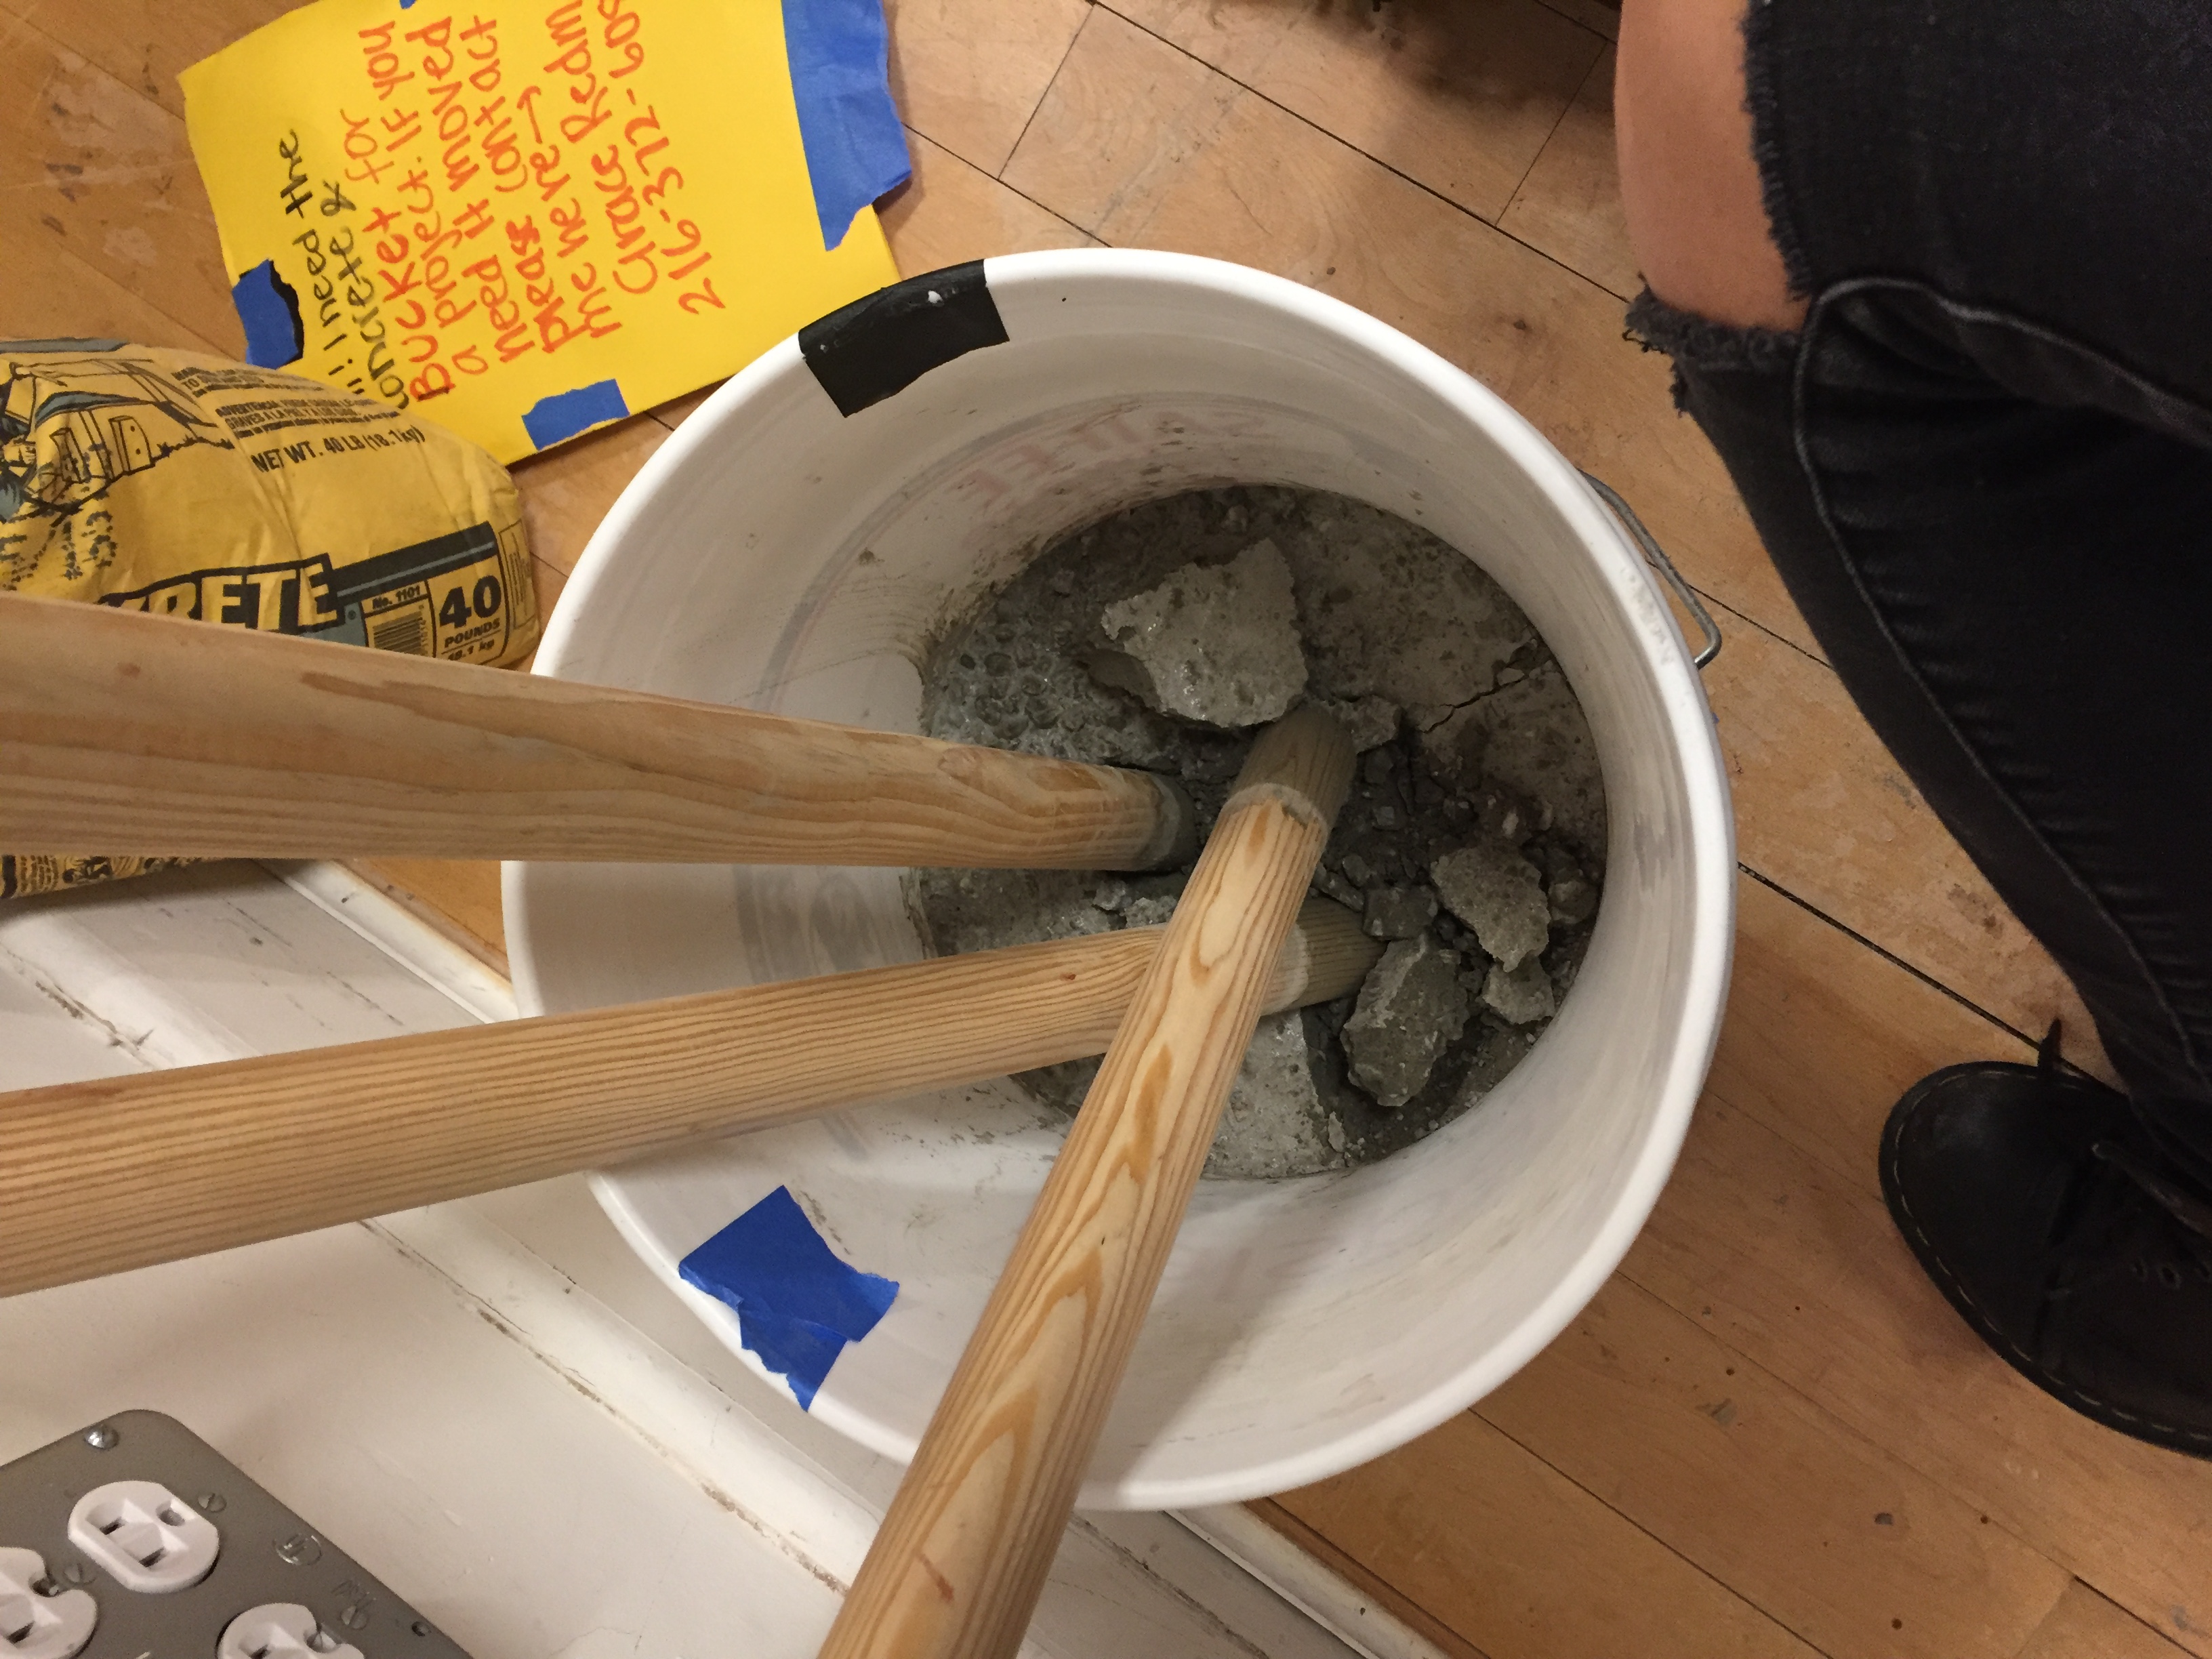
I started out following a tutorial that I found online on how to make a $5 bucket stool (http://www.homemade-modern.com/ep08-5-bucket-stool/). I mixed my concrete (by hand- big mistake!) and poured it into the bucket, placing the dowels in after waiting a few minutes for the concrete to settle.


Foolishly, I believed my job to be done. The tutorial I was following said I didn't need to oil the bucket and that when I returned to remove the concrete 20 hours later, the stool would slip right out. However, these were lies. I definitely should have listened to the people at Saifee Hardware Store who told me that I needed to oil the bucket because when I came back the next day I couldn't get the concrete out. In fact, I have no idea how the people in the tutorial did it without having the arms of the Hulk because the concrete was very firmly encased in the bucket. The only explanation I can think of is that maybe even though we were using the same brand of concrete, I was using a different product that set faster and/or more strongly. Either that, or I need to go to the gym.
Deeply saddened by this turn of events, I was forced to rip my dowels out in an attempt to salvage my project. I then rallied and decided to make a mold out of cardboard instead because I was more confident in my ability to simply rip the cardboard away instead of having to pull a 20 lb stool out of a very firm plastic bucket. Also, since the smallest quantity of concrete you can buy is 40 lbs, I have plenty of material to work with.
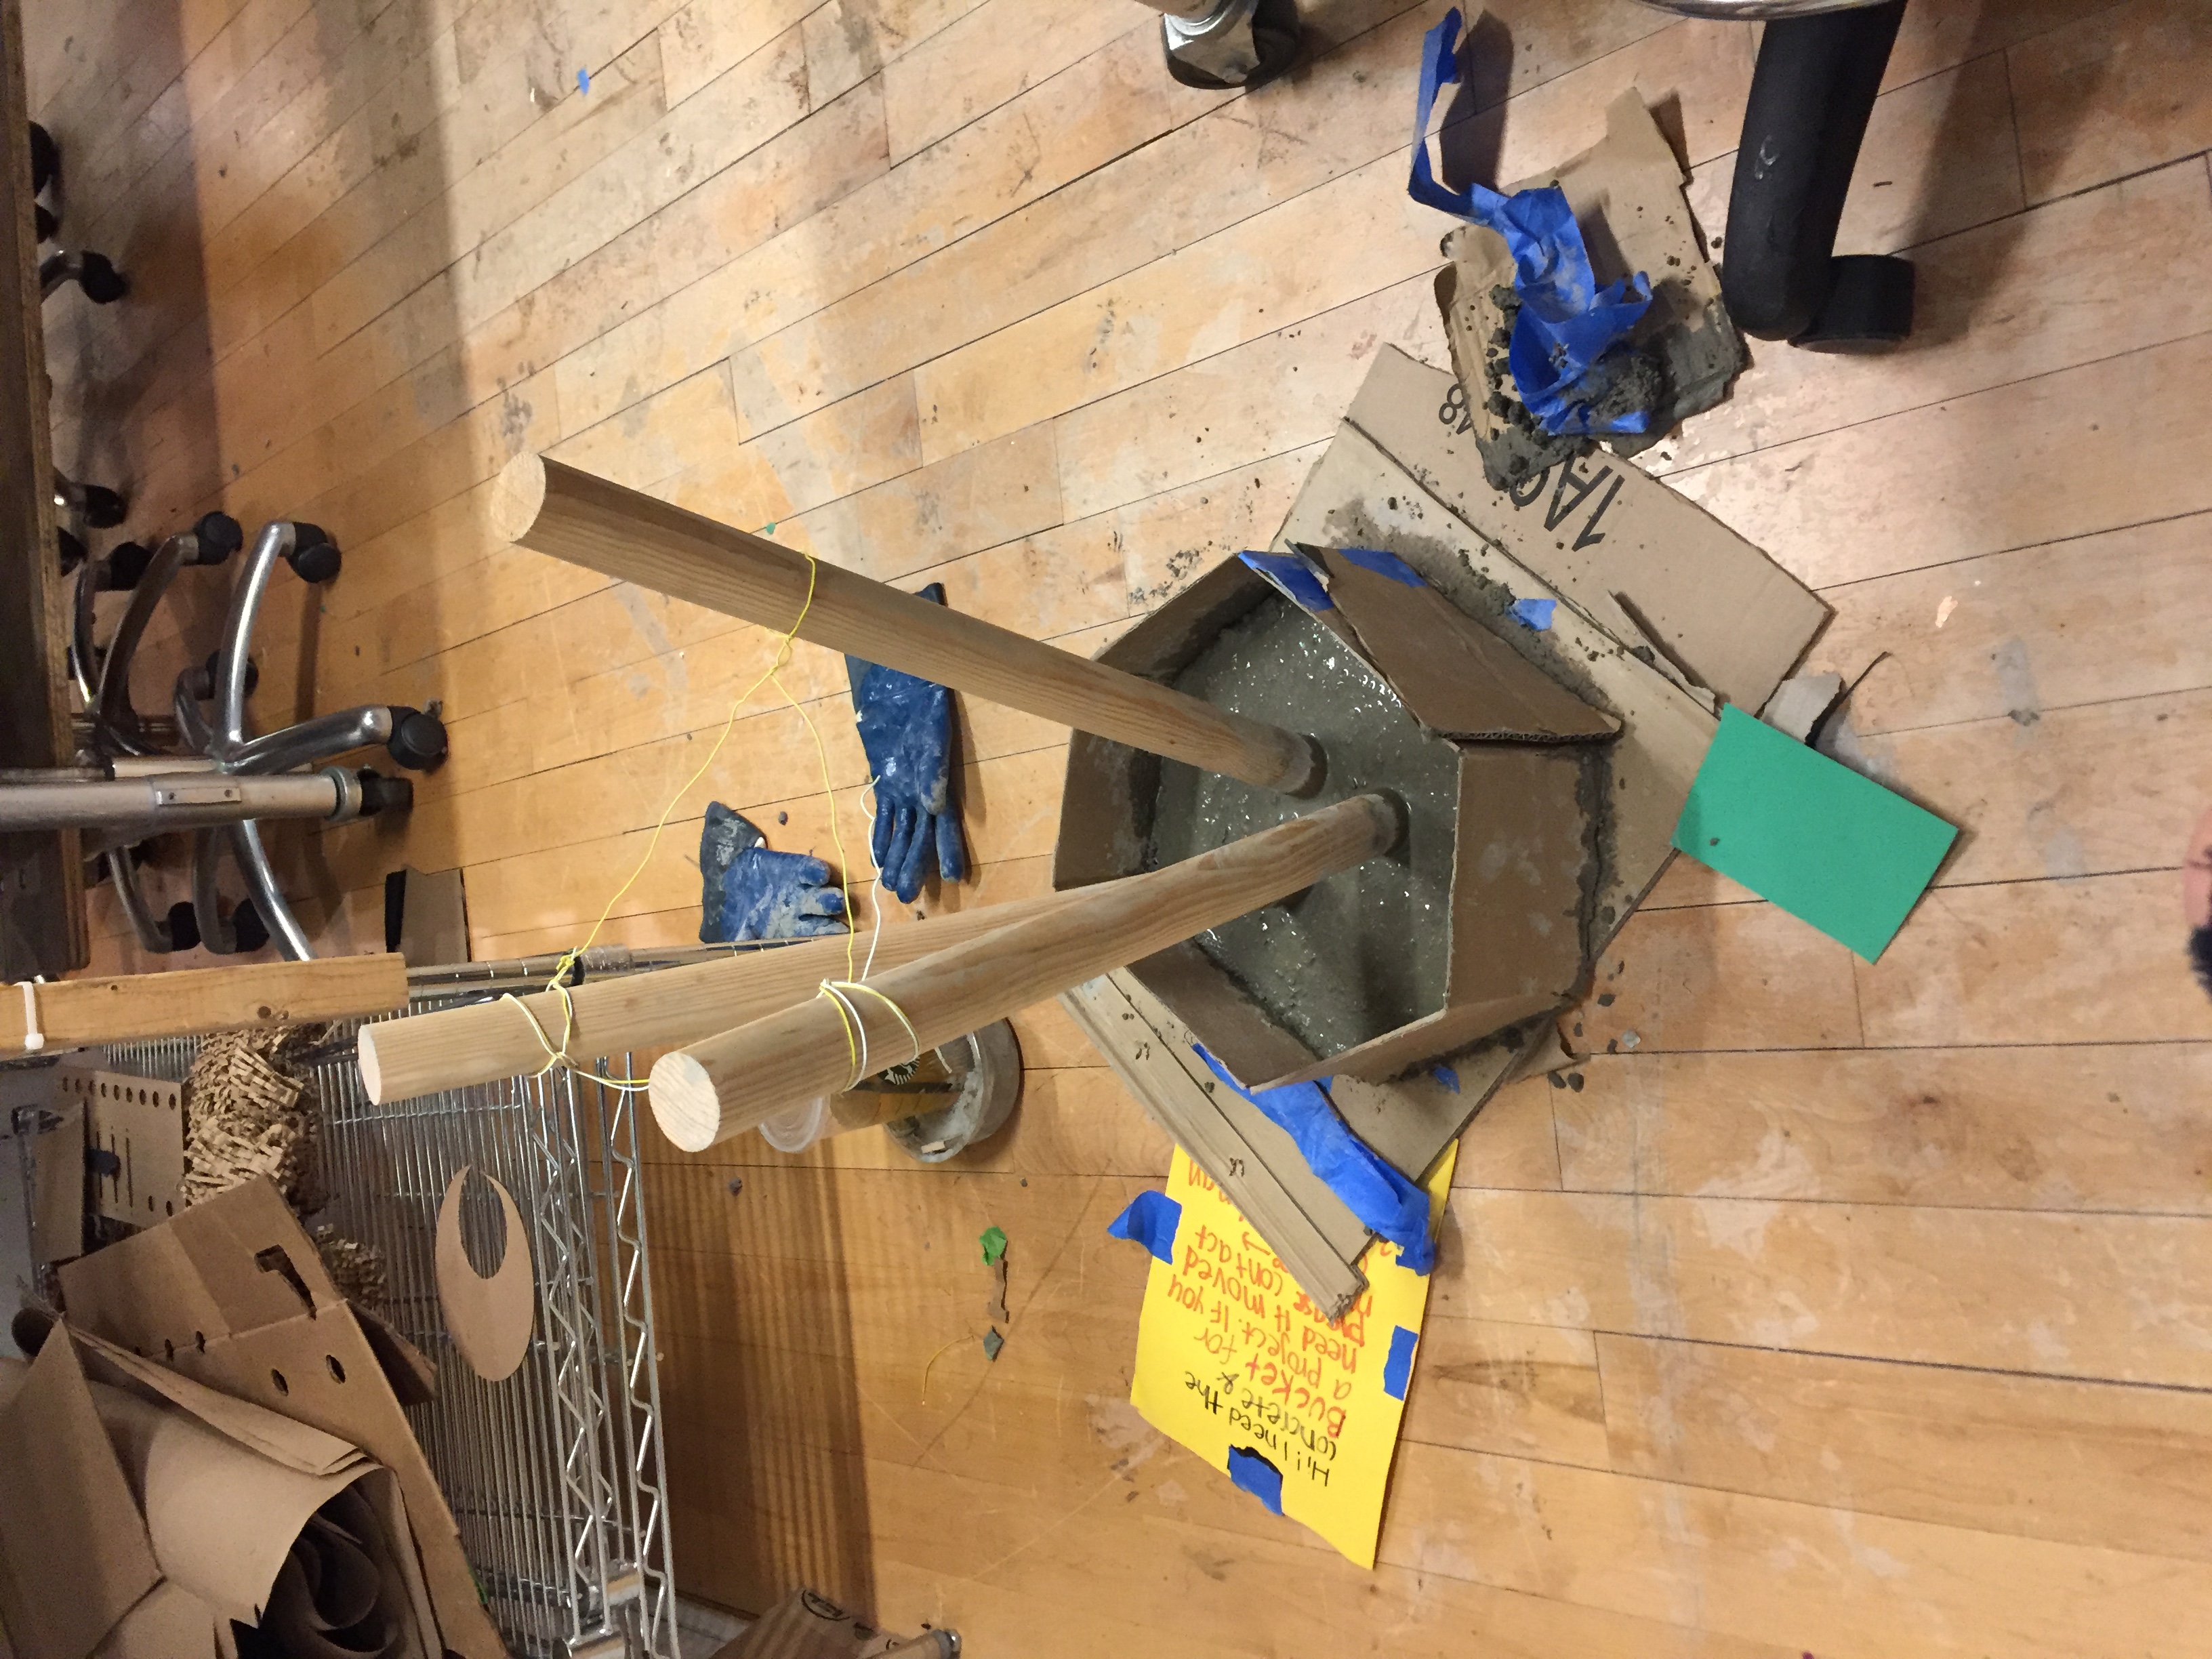
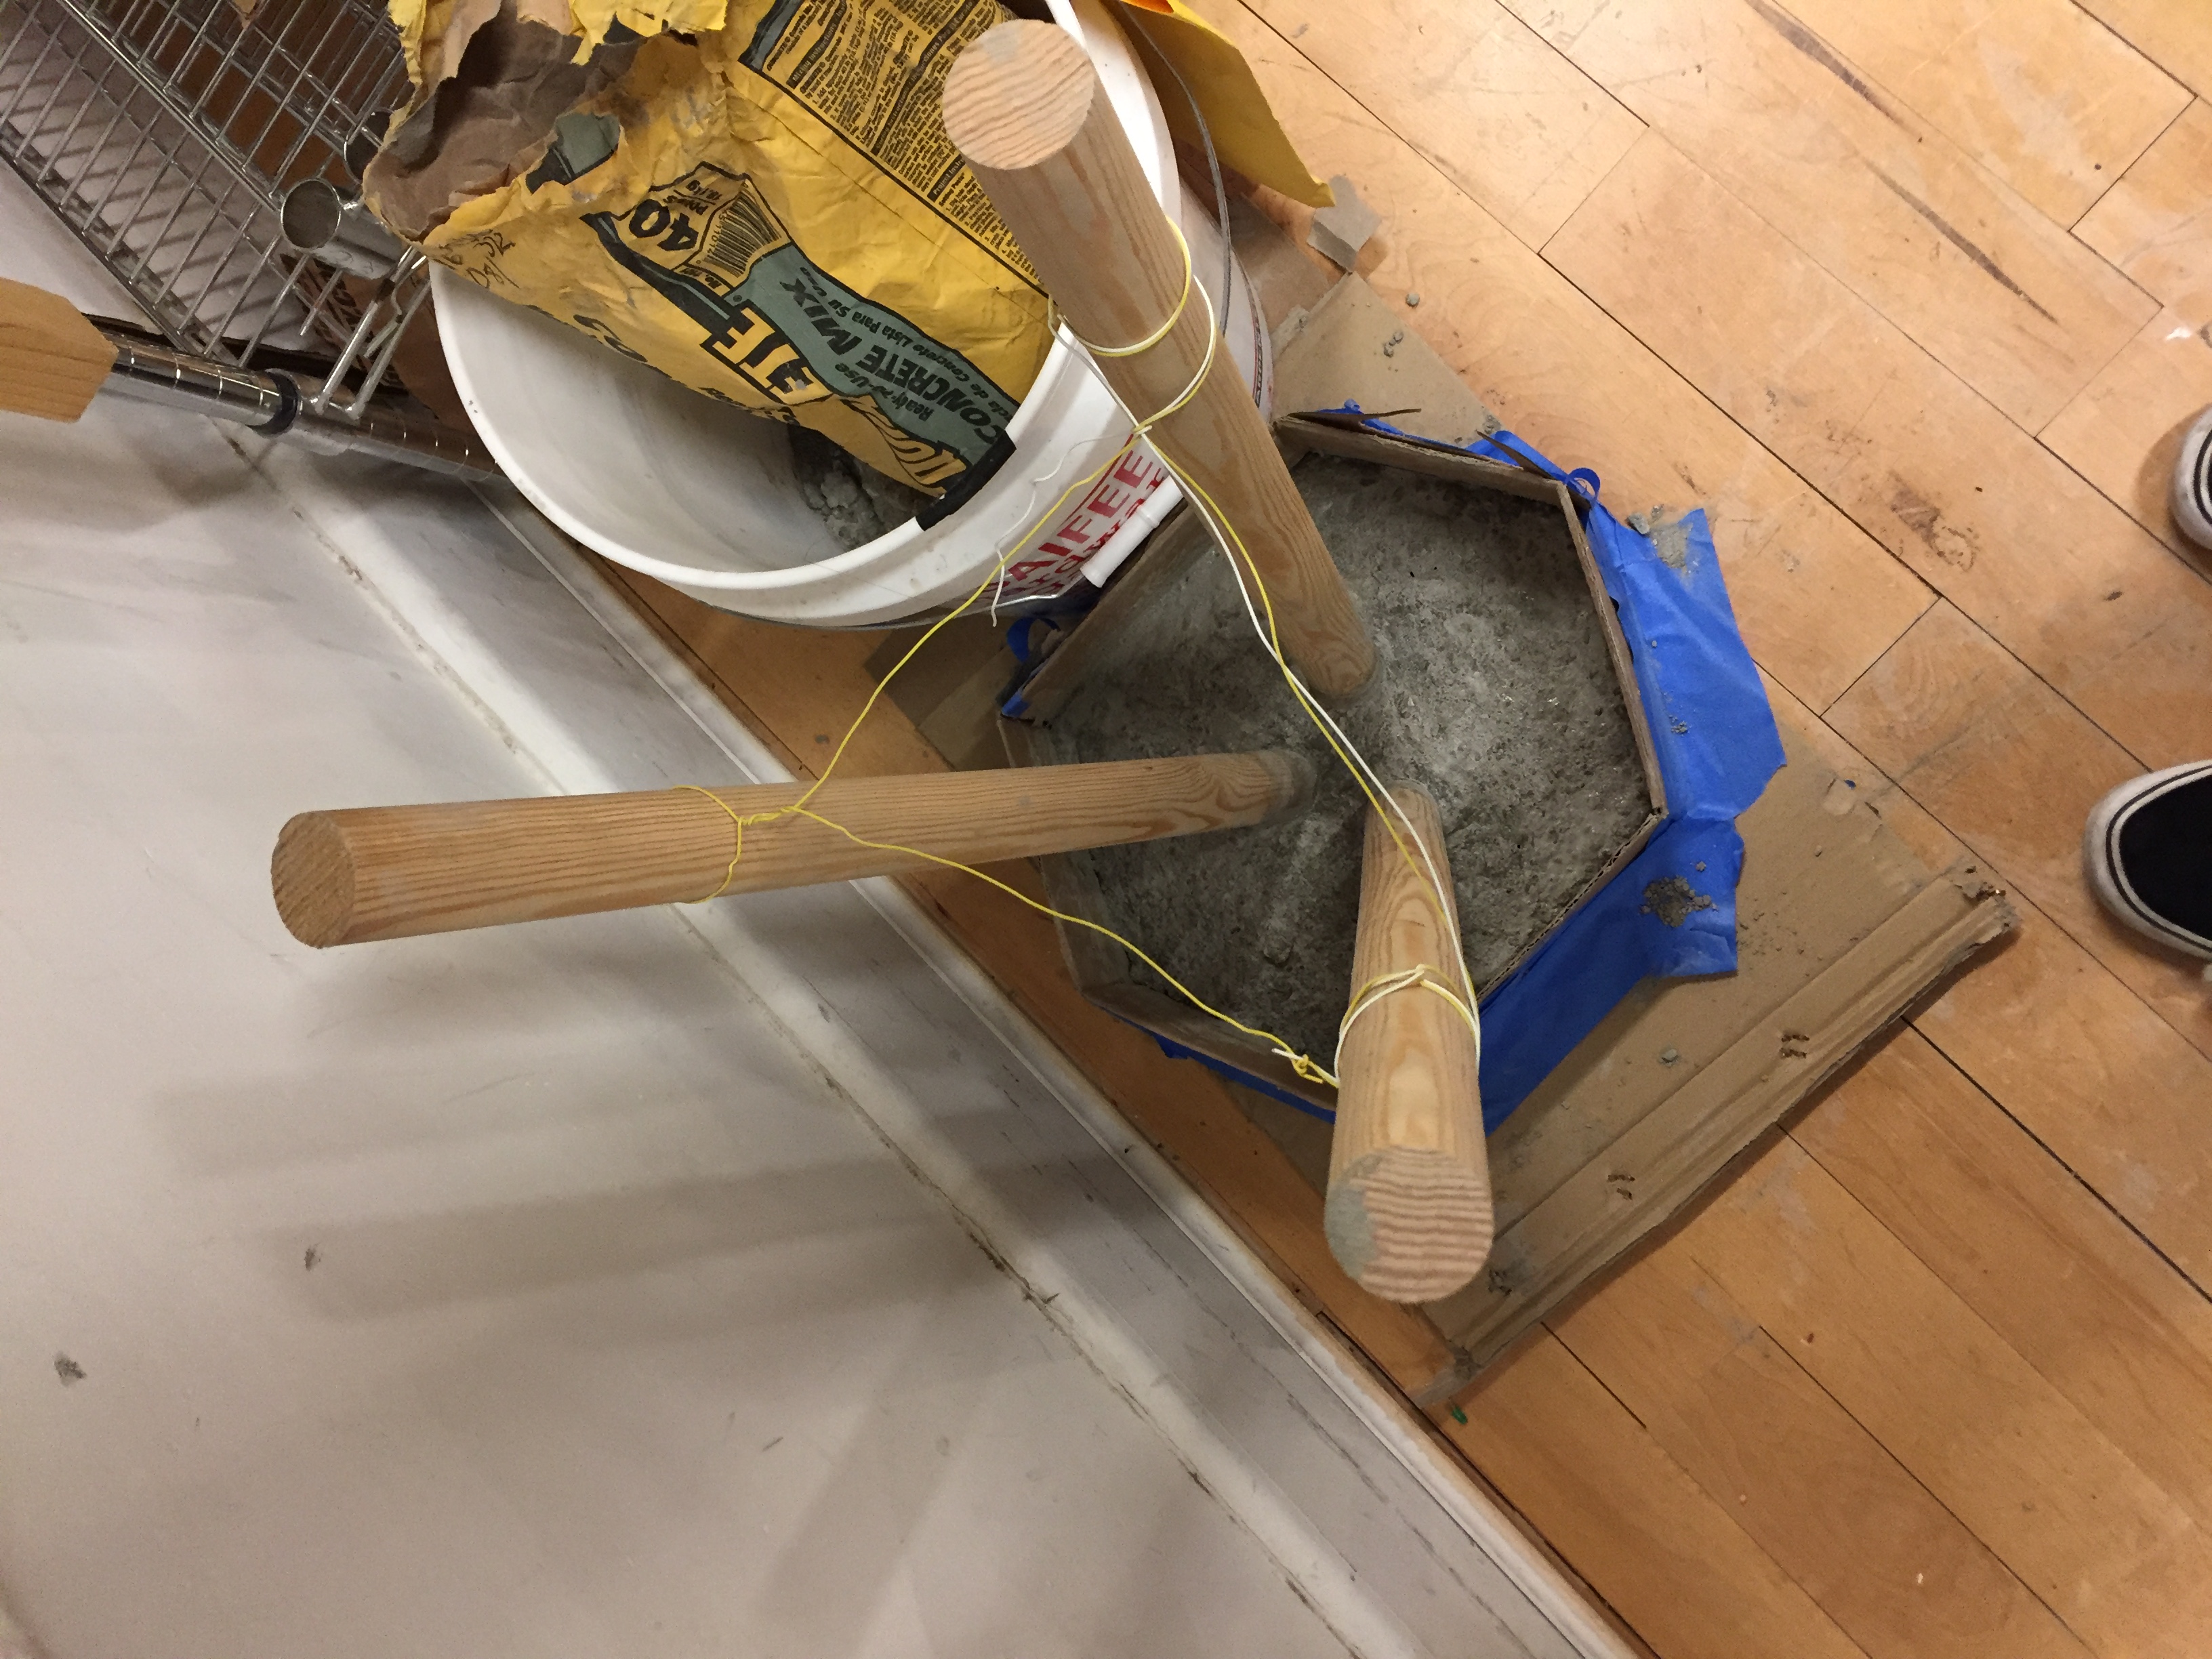
I used a long cardboard strip with score marks in it to create a hexagon shape and taped that strip to another piece of cardboard. I then mixed my concrete in my mold and placed my legs in it. Because there were no bucket walls to stabilize the legs, I used wire to keep the legs in their tripod shape during the drying process.
In retrospect, I should have used more tape or multiple layers of cardboard because when I was tapping/moving the mold to release the air bubbles created during the mixing process concrete started oozing out of the bottom of the mold. Not ideal! Also, apparently I was supposed to cover the cardboard with plastic packing tape so it didn't suck too much moisture from my concrete. However, my stool still turned out alright (I suspect that this is because I added too much water to my mixture initially so the cardboard didn't absorb too much water).
This time I let the concrete dry for 2 days instead of 20 hours so it would be completely dry when I removed the cardboard.
Finally, on Tuesday (I started round 2 of my project on Sunday) I peeled the cardboard away and was incredibly relieved to find that
my concrete wasn't crumbling
the stool top had held it's shape
I was able to remove the mold at all


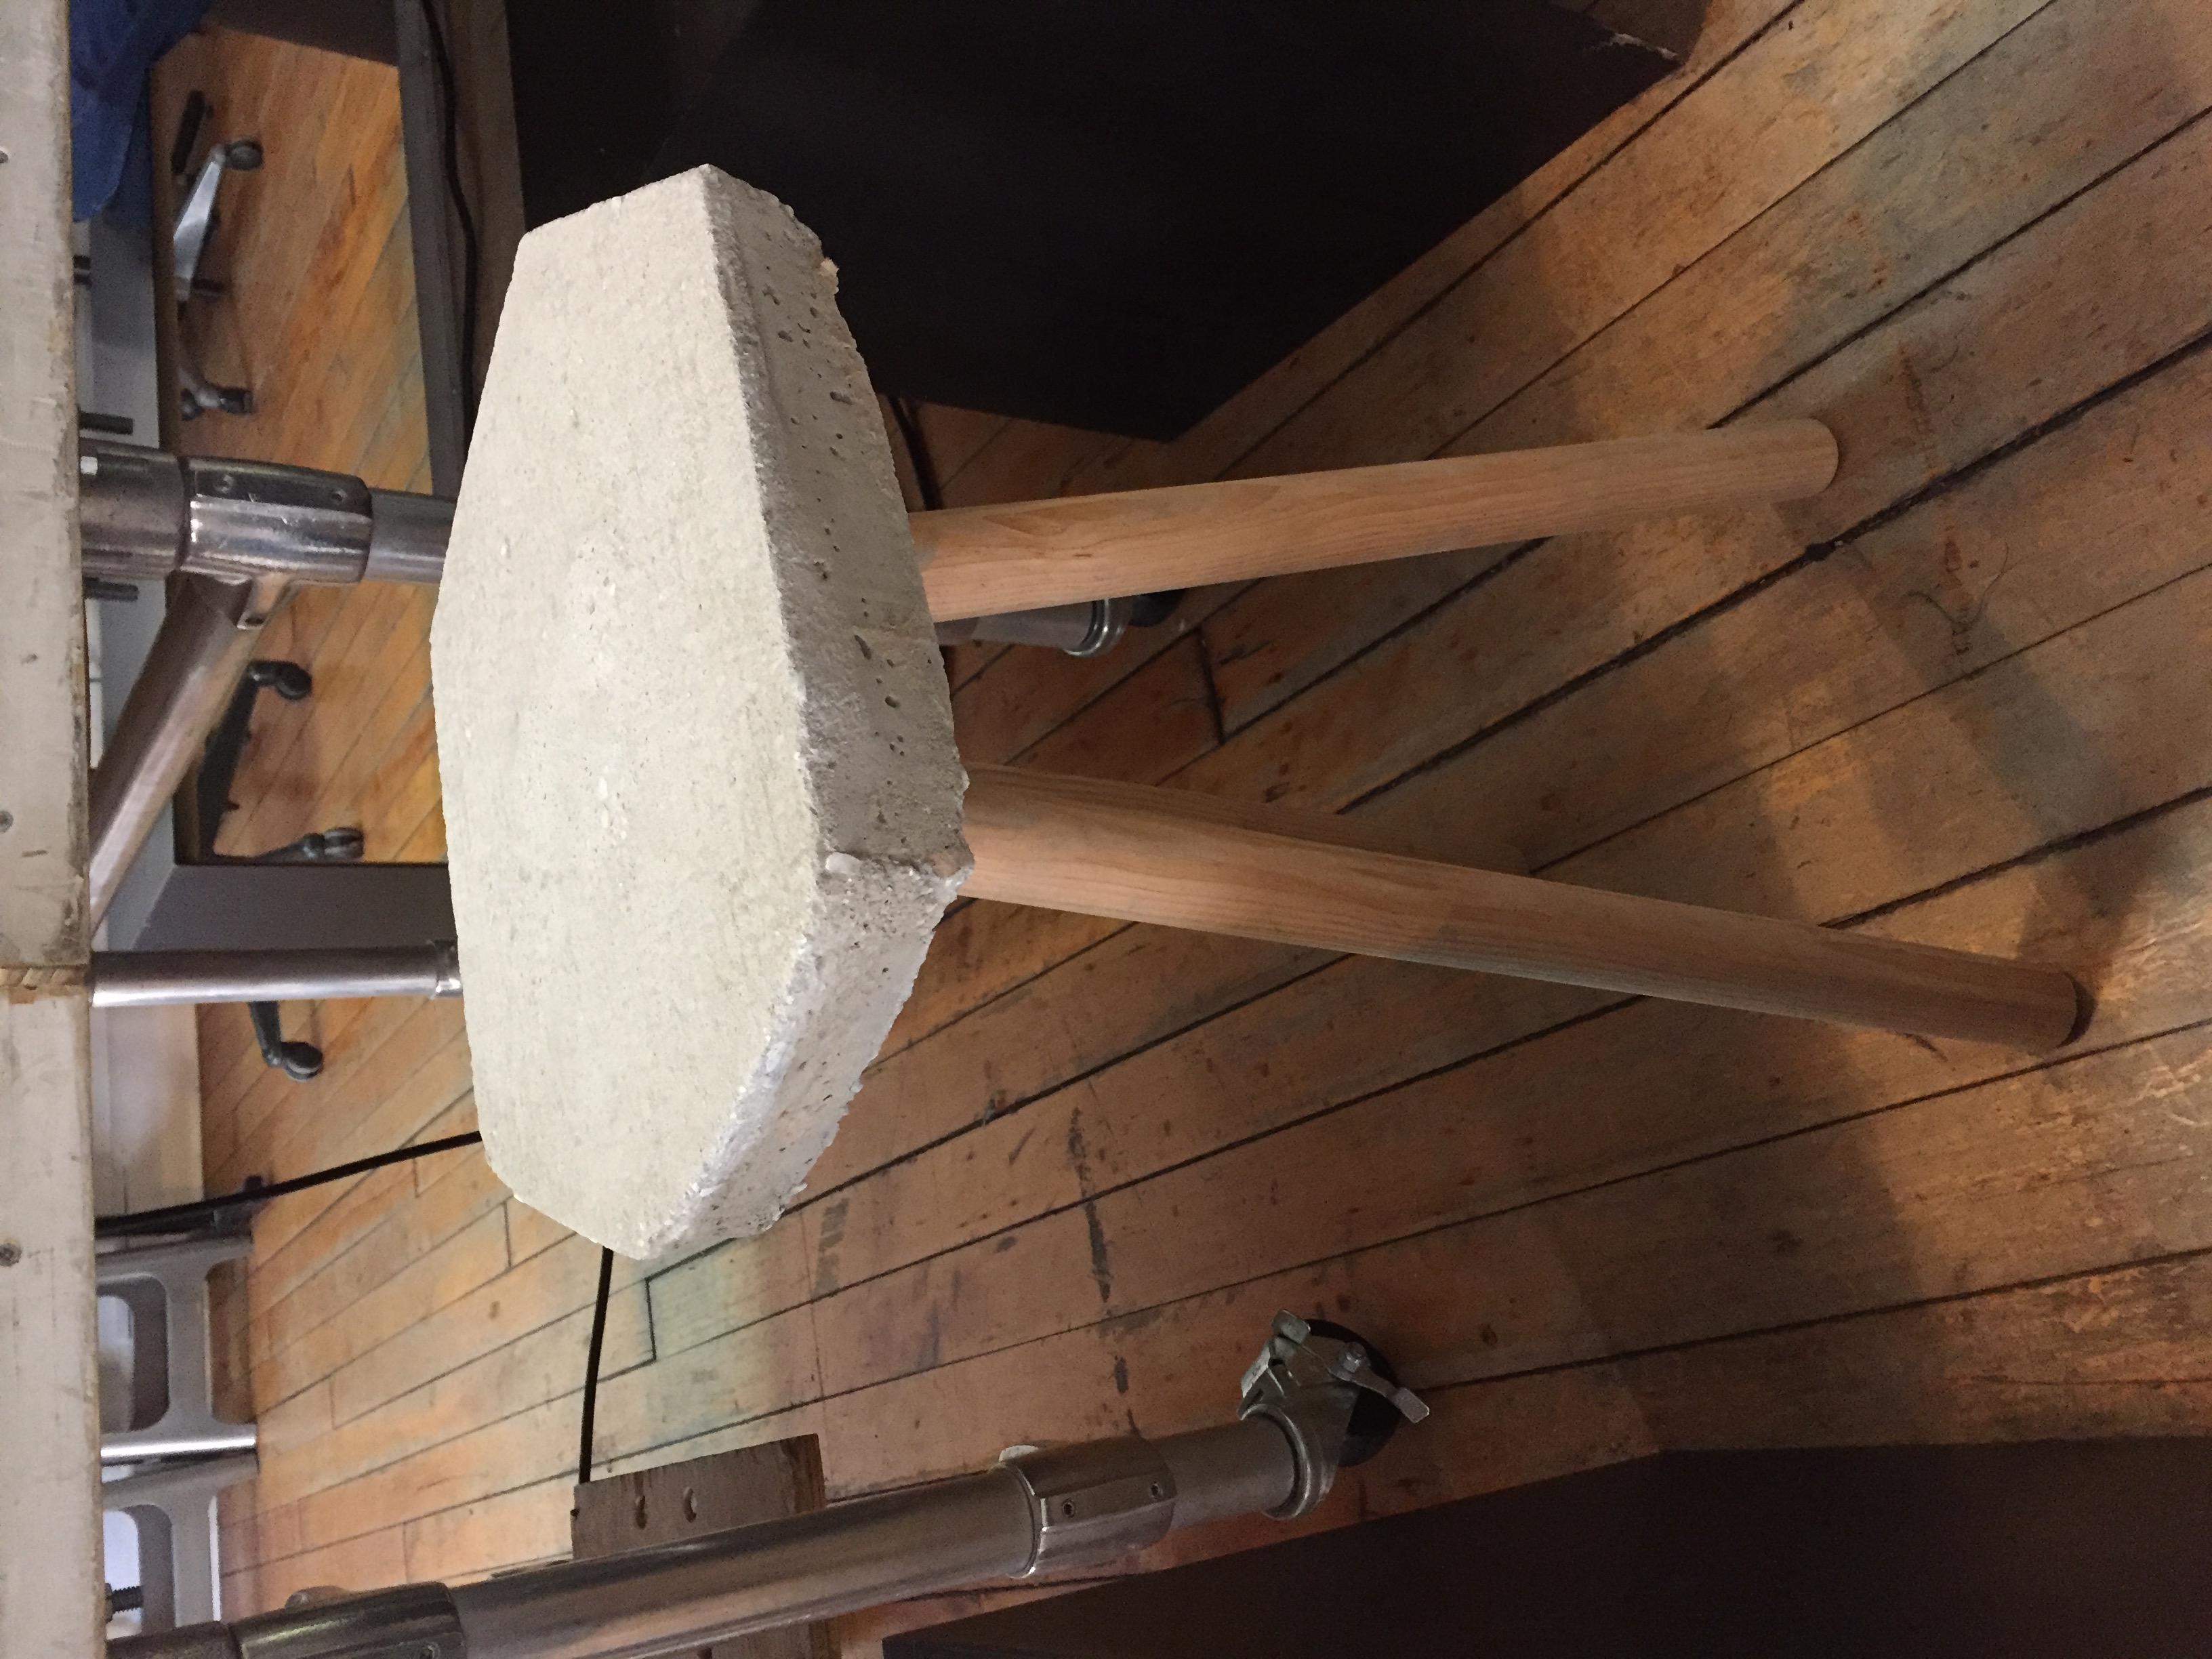
The concrete had a few small air bubbles on the top and some rough edges, as was to be expected by using cardboard (which the weight of the concrete kind of deformed). Using a hand sander, I sanded the top and edges of the stool. I left the bottom mostly untouched though, because I really did not want to mess with the area that the legs were sunk into the concrete.


And that was it! My stool was finished.